When you're shopping for construction drones for international projects, it's not just about grabbing the one with the longest flight time. Honestly, a drone that works great on a dry, straightforward highway site might totally struggle on a windy, coastal job. Buyers around the world really need to connect the technical specs with what they actually face day-to-day on the construction site.
In this guide, I’m sharing ten practical tips to consider when buying construction drones. These tips are based on real-world use—like surveying, tracking progress, measuring stockpiles, and inspecting sites. Make sure you check out the camera quality, obstacle avoidance features, positioning accuracy, battery life, weather resistance, and payload capacity. Don’t forget to look into the controller’s range and how data is stored. Sometimes, tiny details can trip you up—like a weak charger that ends up delaying your morning inspection altogether.
Getting a reliable drone isn’t just about reading a product brochure. It’s smart to ask your supplier for test footage, verified accuracy reports, maintenance instructions, software compatibility info, and training options for operators. Also, confirm if local support, spare batteries, and replacement parts are available in your area. Be extra mindful of import rules, radio-frequency regulations, privacy laws, and workplace safety standards in the regions where you’ll be operating. These things can end up costing you much more than the drone’s initial price.
And honestly, there’s no such thing as a perfect drone. A cheaper model might be fine for simple visual checks, but if you need detailed mapping and precise positioning, you’ll want something more powerful and with better software. Plus, don’t get caught up thinking automation will do all the work for you. Automated flight plans still require human eyes—especially around cranes, power lines, workers, or if the site conditions change quickly. Even experienced teams can overlook limitations during demos. That’s why it’s a good idea to run a controlled trial, get everything in writing, and have a clear budget in mind before making the final call.
Before comparing flight time or camera specifications, define the construction task. A survey drone needs dependable positioning and repeatable coverage across the site. Inspection work calls for close, stable images of façades, roofs, or hard-to-reach structures. Progress monitoring needs consistent viewpoints and regular capture dates. Stockpile mapping depends on clear surface coverage and a workflow that converts images into usable volume estimates. Different jobs. Different data.
Dodge Data & Analytics’ 2018 SmartMarket Report, The Business Value of Drones in Construction, examines reported benefits such as improved safety and communication. Those benefits depend on matching the aircraft and workflow to the task; a polished image alone does not prove a measurement is reliable. For stockpiles, for example, define the boundary and capture method before comparing calculated volumes. For progress tracking, keep camera angles and intervals consistent. Small changes matter.
Ask vendors to demonstrate the exact deliverable you need, using a representative site area. Check how the workflow handles shadows, reflective surfaces, wind, and obstructed ground. These details can complicate results. PwC’s 2016 report, Clarity from Above, estimated potential drone applications could address $127.3 billion in labor and services across global industries, including infrastructure. That is broad potential, not a guarantee for any project. I would treat it as context, then test the data against a known site measurement. Some workflows still need refinement.
Before comparing cameras, payloads, or battery life, check where a construction drone may legally fly. Under FAA Part 107, the aircraft must weigh less than 55 pounds at takeoff, including attached equipment. A thermal camera, propeller guards, and a heavier battery all count. Weigh the actual survey setup, not just the bare aircraft. Close counts.
In the EASA open category, flights are generally limited to 120 metres above the closest point of the ground, subject to operational conditions and local restrictions.
A tower crane can make “120 metres” less simple than it sounds.
These limits shape practical buying choices: payload capacity, flight planning, and whether a project needs a different operating category. PwC’s 2016 report, Clarity from Above, estimated that drone-powered solutions could serve $45.2 billion in construction and infrastructure applications worldwide. That figure is an estimate, not a guaranteed market return, but it shows why compliance belongs in procurement discussions.
Ask suppliers for takeoff-weight figures with your intended sensors installed, and verify local rules before each job. Paper specifications can miss field details.
I have seen teams focus on resolution, then discover that a required guard or sensor pushes their configured aircraft over a threshold. A small oversight. Check the manual, the site, and the rules together.
Before comparing construction drones, define what “accurate” means on your site. RTK corrects positioning during flight using a live correction link; PPK applies corrections after landing. Both can improve camera location estimates, but neither guarantees that every mapped point matches the ground. Tall equipment, weak correction coverage, and poor satellite visibility can still affect results. Check whether your workflow needs real-time decisions or can tolerate post-processing.
Set a target ground sampling distance of 1–3 cm per pixel when the work requires detailed surface models, stockpile checks, or progress comparisons. GSD describes the ground area represented by each image pixel. It is not the same as survey accuracy. A 1 cm GSD image may look crisp while its coordinates remain several centimeters off. Camera height, lens calibration, overlap, and motion all matter. Test a small area.
Ask suppliers for sample data from similar terrain, not just a specification sheet. Review checkpoint errors against independently measured control points, and confirm the coordinate system and height datum. On a dusty site, vibration or changing light can soften images, even with a careful flight plan. I have seen teams chase finer GSD and overlook control-point placement; that was an expensive lesson. Leave time for a repeat flight, because one missed strip can create gaps in the model.
Choosing a construction drone payload starts with the question: what must the crew measure? An RGB camera suits progress photos, roof inspections, and visible surface checks. It can capture cracks or misplaced materials, but shadows and dust may hide details. Keep camera angle and flight height consistent between site visits. Otherwise, comparisons become less reliable.
Thermal sensors reveal temperature differences across roofs, equipment, or recently poured concrete. They do not diagnose a problem by themselves; sunlight, wind, and surface moisture can distort readings. LiDAR helps map terrain, stockpiles, and structural shapes, especially where dense geometry matters. Check point density and expected accuracy against the project’s survey needs. More data is not automatically better. Large files can slow processing and burden field teams.
Multispectral sensors are useful when a project tracks vegetation, erosion, or land restoration around a site. Their value depends on suitable calibration and repeatable capture conditions. Match the sensor to the decision, not the most impressive specification sheet. Ask who will process the data, how quickly results are needed, and whether existing software can handle them. A practical test flight over a small work area can expose gaps before a full purchase. I have seen teams overlook workflow time; that mistake is easy to repeat. Decide what evidence the crew needs, then choose the payload that can produce it consistently.
| Payload / Sensor | Best-Fit Construction Tasks | Typical Deliverables | Key Strengths | Limitations to Consider | Buying Checks |
|---|---|---|---|---|---|
| RGB camera | Progress documentation, site inspections, roof and façade surveys, visual asset inventory | Geotagged photos, orthomosaics, visual reports, and—when suitable imagery and processing are used—3D models | Familiar, versatile imagery; useful for visual comparison and communication | Results depend on lighting, image overlap, camera calibration, and ground control or positioning quality | Check image resolution, mechanical or electronic shutter behavior, geotagging, calibration support, and mapping-software compatibility |
| Thermal infrared | Building-envelope screening, flat-roof moisture surveys, electrical inspections, and heat-loss investigations | Thermal images, temperature readings, and annotated inspection reports | Shows surface-temperature patterns that are not visible in standard RGB images | Thermal patterns are not definitive proof of a defect; weather, emissivity, reflections, and time of day affect interpretation | Compare thermal resolution, temperature measurement range, radiometric image recording, lens options, and reporting workflow |
| LiDAR | Terrain and stockpile surveys, corridor mapping, earthworks checks, and 3D site modelling | Georeferenced point clouds, classified terrain models, contours, and volume calculations | Directly measures distances and can capture ground beneath some vegetation where returns reach the surface | Point density and accuracy vary with altitude, speed, scan pattern, surface reflectivity, and positioning quality; dense foliage can still obscure ground | Check point rate, field of view, range at relevant reflectivity, GNSS/IMU integration, trajectory processing, and coordinate-system support |
| Multispectral camera | Vegetation establishment, landscape restoration, green-roof monitoring, and site revegetation assessments | Band-specific imagery and derived vegetation indices, such as NDVI, when the required bands are available | Captures selected spectral bands beyond visible RGB for comparing vegetation patterns | Index values are not direct measures of plant health; results require consistent acquisition conditions and appropriate calibration | Verify band wavelengths, band alignment, irradiance sensor availability, reflectance-calibration workflow, and analysis-software support |
| RGB + thermal combination | Inspections where a visible reference image and thermal anomaly view are both needed | Paired visual and thermal records for location-based review | Makes it easier to relate a thermal pattern to a visible building feature | Different sensor resolutions and fields of view can complicate image alignment; extra payload weight may reduce flight time | Confirm sensor synchronization, image alignment tools, total payload weight, and expected flight endurance |
| RGB + LiDAR combination | Detailed 3D documentation, as-built records, complex structures, and terrain mapping with visual context | Point clouds with colorized imagery, plus separate image or model products where supported | Combines measured 3D geometry with recognizable visual detail | Data processing and storage needs can be substantial; integrated calibration is important for accurate alignment | Check camera-to-LiDAR calibration, time synchronization, positioning workflow, export formats, and processing capacity |
Buying tip: Select the sensor according to the required measurement or inspection deliverable, then confirm that the aircraft can safely carry the payload and that the full workflow supports the required accuracy, coordinate system, data formats, and local operating rules.
10 Construction Drones Buying Tips for Global Buyers?
Assess Airframe Safety: IP Ratings, Wind Resistance, Redundancy, and Battery Cycles
A construction drone’s airframe faces dust, rain, vibration, and sudden gusts around cranes or unfinished walls. Check the stated IP rating, but read what it covers: water resistance does not guarantee protection from fine concrete dust. Ask whether seals and connectors were tested together, and inspect the battery latch for movement. Small gaps matter.
Wind resistance needs a usable figure, not vague claims. Compare the maximum operating wind speed with conditions at your sites, including gusts between tall buildings. A drone may remain controllable on paper yet produce blurred survey images in turbulent air. Leave a margin. Test flight stability with the intended camera load, since added equipment changes handling.
Redundancy can reduce risk, but it is not a promise of safe recovery. Review what happens after a motor, compass, or positioning sensor fails, and confirm alerts are clear to the pilot. Battery cycles deserve equal scrutiny: ask how capacity is measured, what retirement threshold is recommended, and whether logs show temperature and charge history. A battery that looks clean may still be tired. I would not rely on cycle count alone; storage heat and deep discharges can shorten service life, and supplier records are not always complete.
Before buying a construction drone, check how its data moves from flight to field decisions. Ask for a sample GeoTIFF and inspect its coordinate reference system, pixel size, and visible ground control points. A map can look sharp and still sit several metres from the actual work area. That is costly.
Request a sample LAS point cloud from a representative site, not a polished demo. Confirm that elevation values, classification fields, and timestamps survive export. For IFC/BIM workflows, test whether surveyed surfaces and model coordinates align in your current software.
Open the files with the people who will use them. A promised integration is not the same as a clean handoff. Small mismatches matter.
Check API documentation for authentication, rate limits, error handling, and access to original flight records. Ask how updates are versioned, and whether your team can retrieve data without manual vendor support. ISO 21384-3 practices provide a useful reference for operational procedures, competence, maintenance, and risk controls; ask suppliers to show relevant records, not just cite the standard. Keep a test log. It may feel fussy, and some details will be missed on the first pass. That is exactly why a short trial should include a real survey, a data export, and review by both survey and BIM staff.
A drone’s purchase price is only the first line in the budget. Before ordering, estimate the cost of training pilots, maintaining flight records, and keeping staff current as workflows change. A two-day training session may seem manageable, but travel, lost work hours, and practice flights add up. Include insurance premiums and check whether coverage reflects the aircraft’s actual use, such as repeated site surveys or work near cranes.
Repairs can disrupt schedules as well as budgets. Allow for replacement batteries, damaged propellers, camera servicing, and shipping delays. Ask how quickly common parts can be sourced, then model a few grounded days during a busy project. It is not a perfect forecast. Real sites are messy. Software also deserves a recurring line item: mapping, data storage, upgrades, and user seats may carry separate fees. Confirm what remains accessible if a subscription changes.
Estimate return on investment with measurable tasks, not optimistic promises. Compare current survey time, site visits, and rework against the expected drone workflow. For example, record how many hours a crew spends documenting a large site each month, then price those hours realistically. Include setup and review time; otherwise, the savings look better than they are. Revisit the calculation after several projects. Some benefits, like clearer progress records, are hard to price, and pretending otherwise weakens the business case.
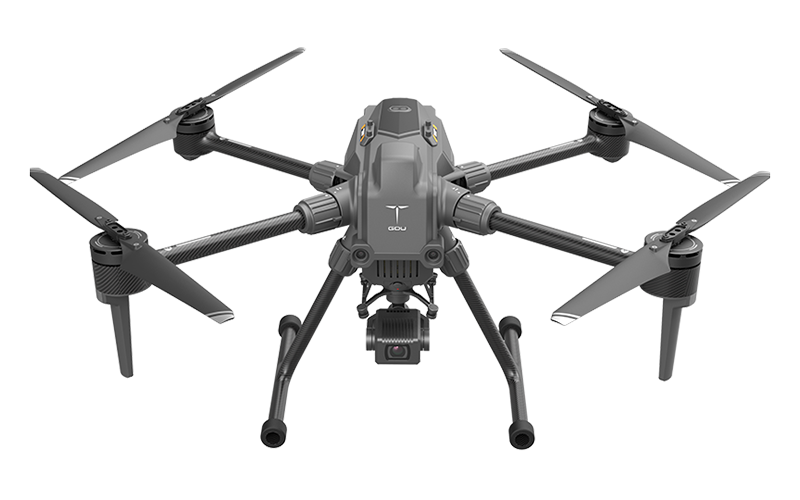
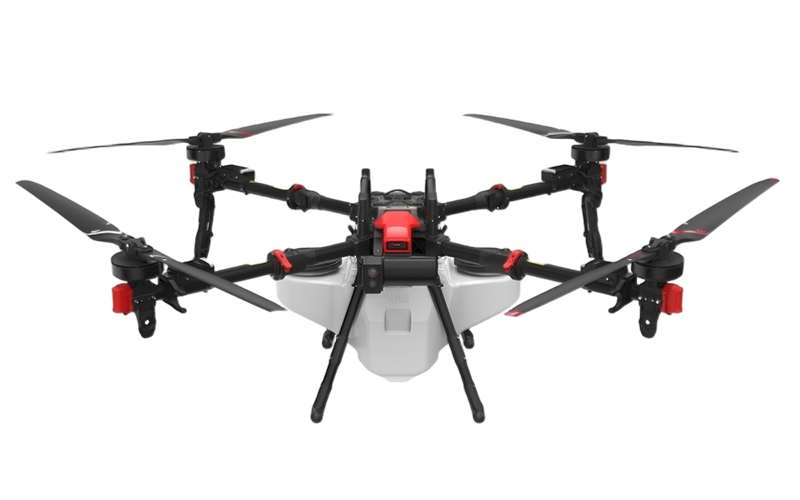
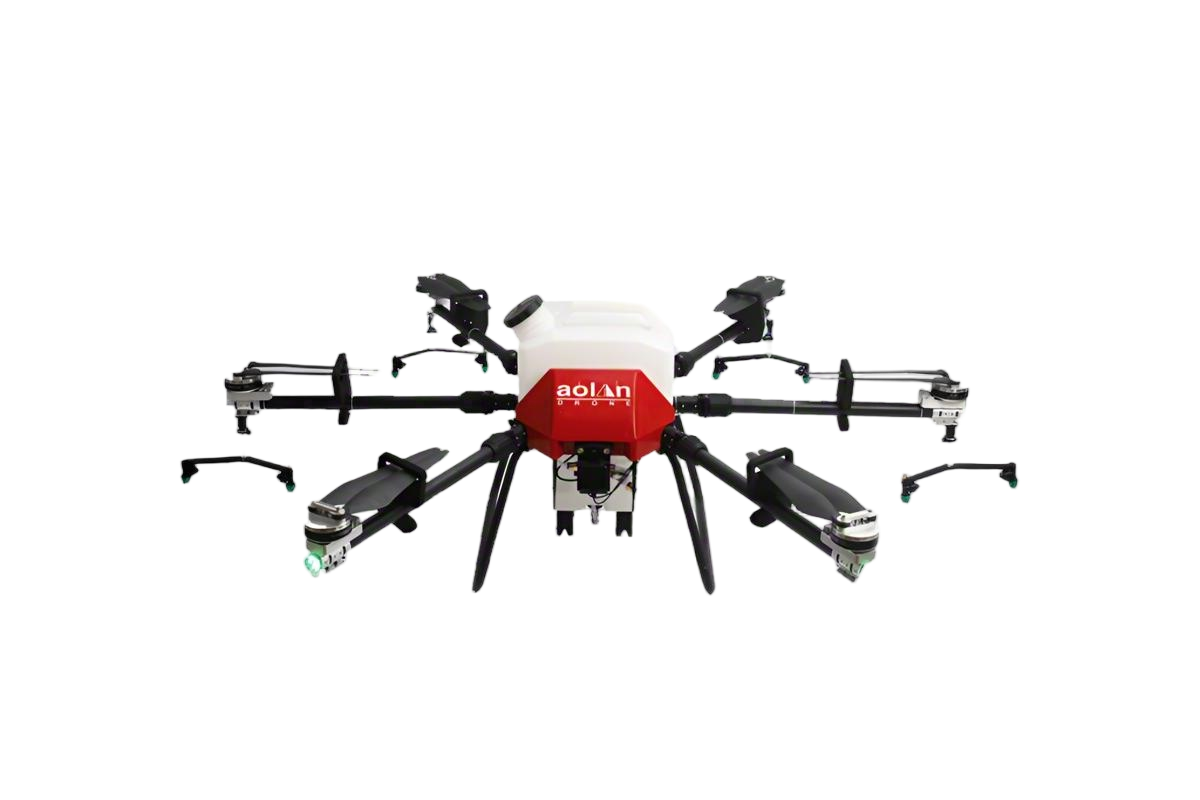
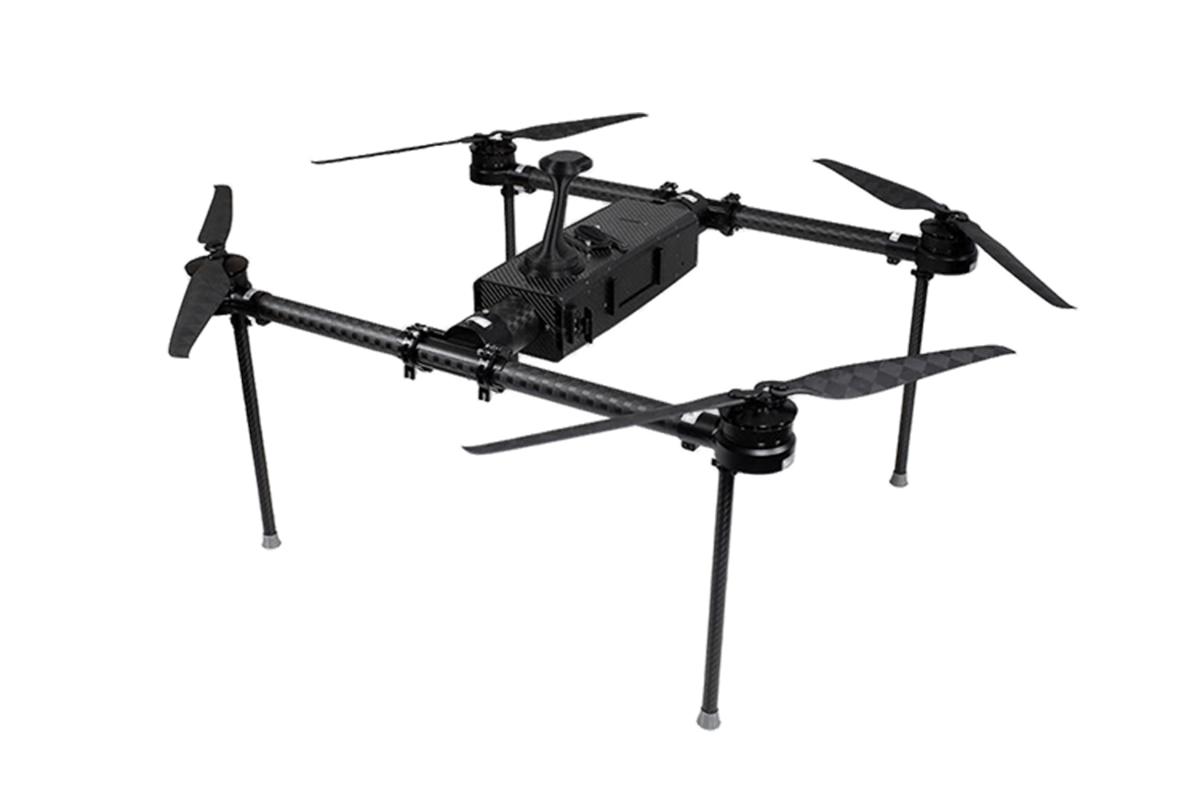
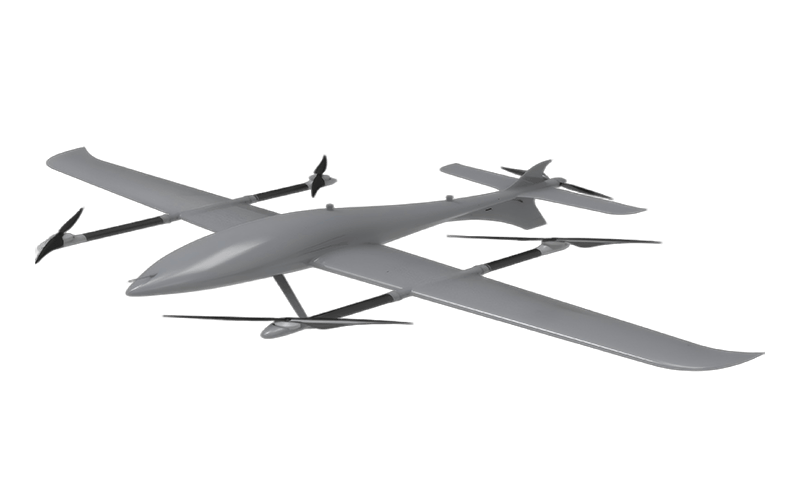
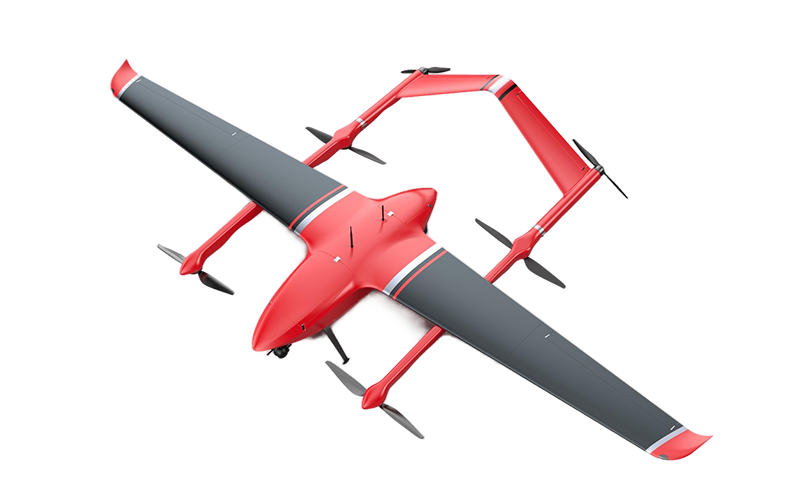
Designed for demanding professionals, this multifunctional drone brings portability, endurance, and maneuverability together in a robust aerial platform. Its streamlined design makes it easier to transport between work locations, while extended flight time helps teams spend more time carrying out planned tasks and less time preparing for repeated takeoffs. Responsive handling supports controlled movement in changing operating conditions, giving pilots greater flexibility when navigating complex routes or positioning the aircraft for a specific job.
A versatile payload capacity broadens the range of missions the drone can support, from inspection and mapping to observation and data collection. Its adaptable configuration allows professionals to match equipment to the needs of each assignment, while a durable build is suited to regular use in demanding environments. By combining practical mobility with dependable flight performance and mission flexibility, this UAV offers a capable solution for teams seeking to work efficiently across varied operational requirements.
Check the legal takeoff weight for your operating area. Include batteries, guards, cameras, and other attached equipment. Measure the complete survey setup. Close limits still matter.
Some open-flight rules limit operations to 120 metres above the nearest ground point. Cranes and raised platforms can make this measurement difficult. Confirm local restrictions before each flight. Simple numbers can mislead.
A heavier camera or battery changes takeoff weight and flight handling. Ask for performance data with your intended equipment installed. Bare-aircraft specifications may not reflect field conditions. I would verify this twice.
Look for suitable protection against rain, dust, vibration, and sudden gusts. Read exactly what the stated rating covers. Water resistance may not protect against fine concrete dust. Inspect seals and battery latches closely.
Compare the stated operating wind speed with gusts at your actual sites. Tall buildings can create turbulent air. Test the drone with its working camera attached. Stable control does not guarantee sharp images.
Ask what happens after a motor, compass, or positioning sensor fails. Confirm that alerts are clear and understandable to the pilot. Redundancy can reduce risk, but it cannot guarantee recovery. Review failure procedures in practice.
Check cycle records, temperature history, charging patterns, and recommended retirement thresholds. Storage heat and deep discharges can shorten battery life. A clean battery may still be tired. Cycle count alone is imperfect.
Include training, insurance, repairs, batteries, propellers, camera service, shipping, software, storage, and user access. Model several grounded days during busy projects. Small costs accumulate quickly. The forecast will not be perfect.
Compare current survey hours, site visits, documentation work, and rework with the proposed workflow. Include setup, data review, training, and maintenance time. Recalculate after several projects. Some benefits remain difficult to price.
Buying Construction Drones requires more than comparing flight time or camera quality. Global buyers should first define the project goal, such as surveying, inspections, progress tracking, or stockpile mapping, then confirm applicable aviation rules, including weight limits, operating heights, pilot requirements, and local permissions. Accuracy should match the task, with RTK or PPK positioning and suitable ground sampling distances considered for measurement work.
Payload selection is equally important: RGB cameras support mapping and documentation, while thermal, LiDAR, and multispectral sensors serve specialized inspection or analysis needs. Buyers should also evaluate airframe durability, weather protection, wind resistance, system redundancy, and battery life. Before purchasing, verify that the platform can export useful formats such as GeoTIFF, LAS, and IFC, connect with APIs, and support disciplined data practices. Finally, calculate total ownership costs, including training, insurance, maintenance, software, replacement batteries, and expected return on investment. A compliant, reliable, and workflow-ready system will usually provide greater long-term value than a low initial price.